
Painting roller shutters is vital for maintaining these functional assets’ aesthetic and protective qualities. Whether you’re a business owner with a commercial premise or looking to spruce up your residential property, the following guide, inspired by expert insights, provides comprehensive steps to achieve a flawless finish.
Let’s embark on this journey of enhancing the appearance of your property with Altus Shop Fronts & Shutter Repairs‘ expertise. We will help you paint your roller shutter effectively in less time. We help you save costs and waste.
This guide delves into the ‘How to Paint Roller Shutters’ process, ensuring that your doors look stunning and stand the test of time. Get ready to turn those plain shutters into a masterpiece with our essential tips for a flawless finish.
What are the steps for Painting Roller Shutters?
Painting roller shutters involves several vital steps to ensure a smooth, even, and durable finish. Here’s a guide to help you through the painting process:
- Removal of Shutters: Begin by carefully removing the roller shutters. This might require an extension ladder for higher installations. Keep the screws and other hardware safely stored for reassembly. If shutters are of different sizes, label them to facilitate easy reinstallation.
- Cleaning and Preparation: Clean the shutters thoroughly to remove dirt, grime, and old, peeling paint. Use warm, soapy water and a sponge for gentle scrubbing. A power washer can be more effective for tougher stains or peeling paint. Ensure that all loose paint is removed and the surface is smooth. This step is crucial for the paint to adhere correctly.
- Sanding: Once clean, gently sand the shutters’ surface with medium-grit sandpaper. This helps create a surface to which the paint can adhere more effectively.
- Priming: Apply a suitable primer, especially if there is any peeling paint, or the shutters are made from a material that requires it. Primer helps with paint adhesion and adds a layer of protection. In most cases, a single coat of primer is sufficient.
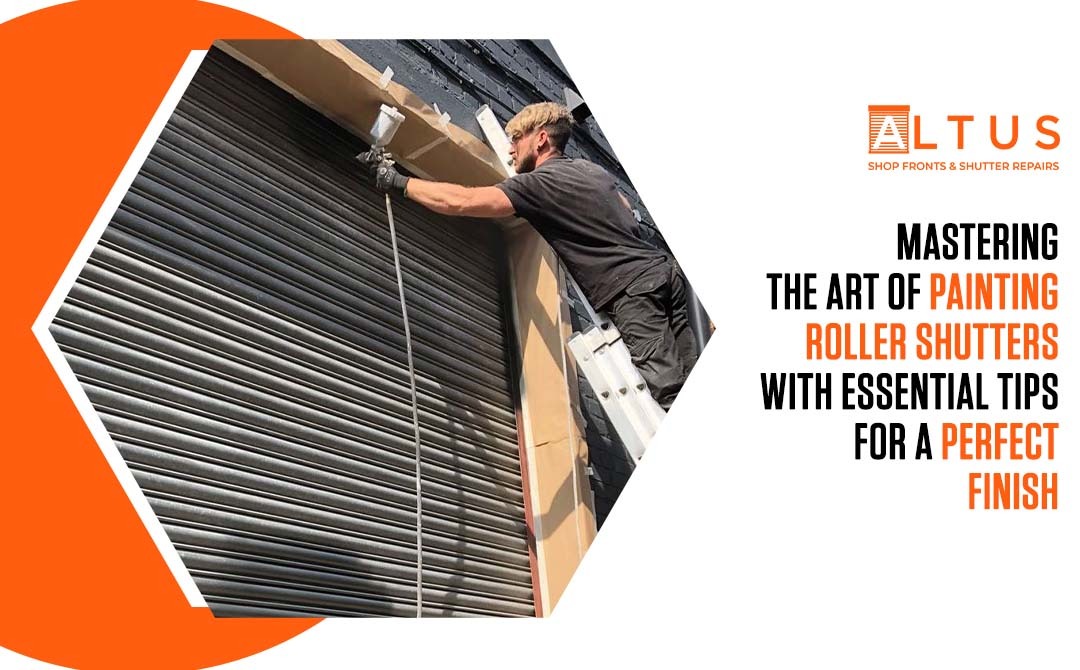
- Painting: For the painting itself, using an airless sprayer is recommended for a more even and efficient application. If you don’t have one, they can often be rented. Spray the paint evenly across the shutter, usually in a horizontal direction. Apply at least 2-3 coats of paint to ensure an even finish, allowing sufficient drying time between coats.
- Finishing Touches: After the final coat of paint, you might consider applying a varnish or acrylic clear coat for extra protection, especially against weather conditions.
- Reinstallation: Once the paint and finish have thoroughly dried, reinstall the shutters. Be sure to match them correctly if they were labelled during disassembly.
What are the Advantages of Painting a Roller Shutter?
- Enhanced Aesthetics: Fresh paint revitalizes shutters, boosting the overall look of a property.
- Increased Property Value: Well-maintained shutters can raise a property’s curb appeal and market value.
- Environmental Protection: Paint shields shutters from weather, reducing wear from sun, rain, and pollution.
- Cost-Efficiency: Regular painting is an economical way to maintain shutters, preventing costly repairs.
- Customization Options: Allows colour and finish customization to align with building aesthetics or branding.
- Improved Security: Well-painted shutters function more efficiently, enhancing security.
- Rust and Corrosion Prevention: Metal shutters need to avoid rust and corrosion.
- Energy Efficiency: Reflective paints can reduce heat absorption, lowering cooling costs.
- Prevention of Wood Rot: Paint helps prevent rot and deter insect damage for wooden shutters.
- Smooth Operation: Regular painting helps maintain smooth operation by preventing mechanism interference.
Can you DIY or Hire an expert? Let's find out.
DIY Painting
Opting for DIY painting saves costs and offers schedule flexibility, with the added satisfaction of completing the project yourself. However, it can be time-consuming and might not yield the professional finish you desire, requiring the acquisition of necessary tools and materials.
Hire a Professional
Hiring a professional ensures a high-quality, efficient job with less personal effort, utilizing their expertise and professional-grade tools. The main drawbacks are the higher cost and the need to align with the professional’s schedule, leading to less personal control over the project.
Which is more Beneficial?
The choice between DIY and professional painting largely depends on individual circumstances. DIY can be rewarding if you prioritize cost savings and have the time and willingness to learn. However, hiring a professional is often more beneficial for guaranteed quality and efficiency, especially for complex or large-scale projects.
How do you get a perfect paint job?
The application of paint is a critical step in achieving a factory finish. Use an airless sprayer for the most efficient and effective results. This method saves time and ensures a smooth, even coat. Spray the paint horizontally across the shutter, applying two coats for full coverage. Ensure the shutters are placed on a drop cloth to protect the surrounding area from paint drips and over-spray. For wooden shutters, use a high-quality nylon polyester paintbrush, painting in the direction of the grain and starting from the backside. If the shutters have slats, paint these first to avoid buildup in the corners.
Conclusion
In conclusion, painting roller shutter doors for security shutters, window shutters, or shop fronts requires careful attention to detail. From choosing the right coat of paint to ensuring minimal disruption during the process, each step contributes to the final, flawless finish.
Following these steps, you can revitalize your range of roller shutters, giving them a fresh coat that looks great and offers enhanced protection for your commercial premises or industrial buildings. Remember, a cost-effective and carefully executed shutter door painting job can transform the look of hundreds of shops, reflecting the expertise of specialist teams even under challenging weather conditions. So, embark on your roller shutter painting journey confidently, aiming for that perfect, even finish that stands the test of time.


